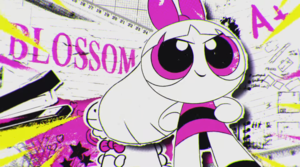

Ok, I'm gonna 表示する あなた guys how to use a base and make it look cool, different, yet realistic! to start off, you'll need these things:
this base:
and, a image editing program like Paintdotnet,Gimp,Or adobe photoshop.For those who don't have any of these, heres a link to the Paint dot net download website, which as advertisments to GIMP( both of course are free to download)
link
Now when your done with all that, LETS GET STARTED!
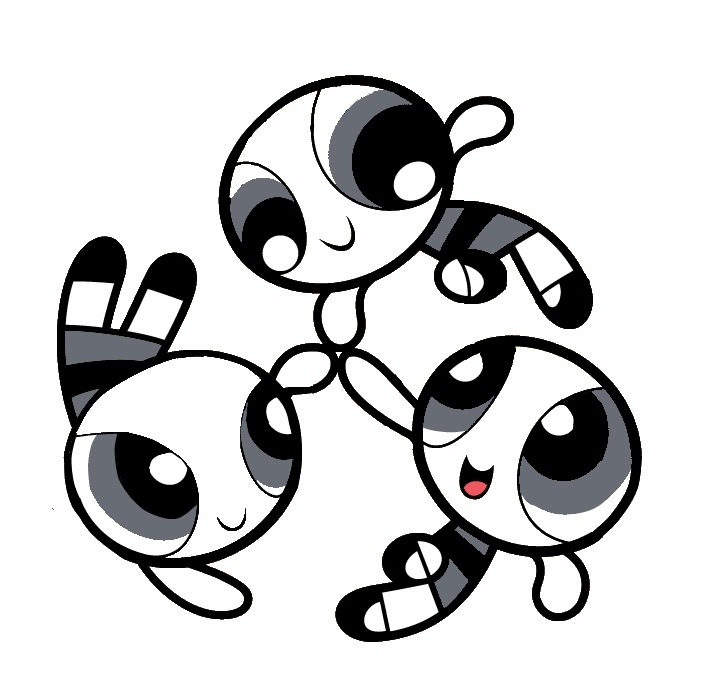
step1: open up your software and open up the base to the image-editing software. it should look like this:
got it? good.
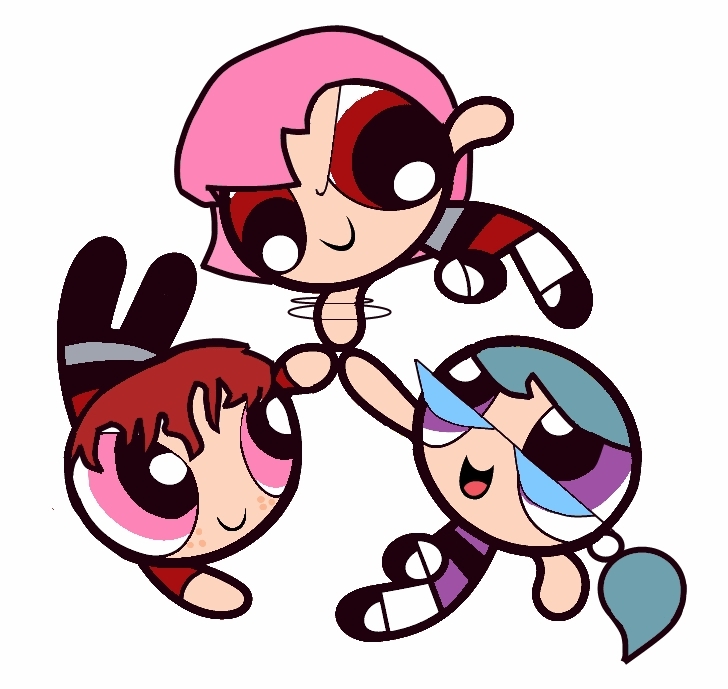
step 2: carefully do your best to fix any and all mistakes in the base, make it look as close to the real thing as possible(I suggest using the paintbucket,line,and paintbrush tool for this). heres an example:

NOW WE'RE READ TO EDIT!
step 3: now to make this easy , we are going to get rid of the skin color によって turning it all white(be sure to save the skin color to your pallette first, just temporarily) this will be for when we make and color the hair. 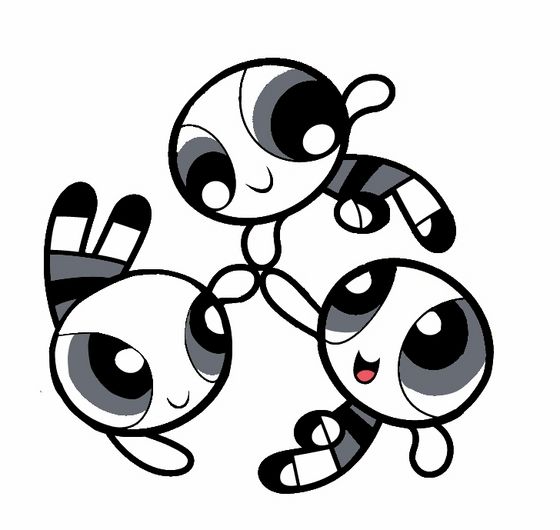
Step4: now we are going to 編集 one of the bottom puffs into a rowdy ruff base, its a much easier process than あなた realize, but I'll 表示する あなた step によって step how to do it anyway!first uncolor the bottom half of the dress,and erase the lines that go across each leg, like so: 
step5: now add lines like below on the picture, then color in the pants black ,and the new parts of the シャツ the grey on the girls dresses,like so: 
Step6: now we add hair. using the lines tool, draw out the hair lines however あなた want it. heres and example: 
step7: now あなた add any extras using the same step, and also change expressions of the characters, like below:

AND NOW WE COLOR!
step 8: pick your base colors, the ones you'll be adding lights and darks to later. this is the first step あなた have to take to make any picture good(note to those using PaintDotNet, when coloring in with some colors, set the opacticity level to a lower setting, and click in the color till it does'nt change shade any more, this'll help color fill in easier,just make sure not to change the line colors!):

NOW FOR THE FANCY STUFF!
step9:in order to add lights to your picture, click white, then set your opacticity level to 40, do the same with black for darks. now, useing the lines tool, add the white where あなた want lights, and the black where あなた want darks. this should be your results(just a example): 
step10: now were gonna do some cool special effects,for the first one, use the magic wand tool and pick on area on one of the girls dresses, and go to effects at the 上, ページのトップへ of the screen(or wherever it is on your program) and go to noise, then click add noise, set color intensity to 88, color saturation to 0, and coverage to 100.00. the results should probably look like this:

Now it gives a glitterish effect, continue to add this to other part of the picture によって repeating step10.
step11: now that you've glittified your picture, we're going to add something cool, first make sure あなた have selected the outside of the characters with the magic wand tool, then go to effects and select render, pick julia fractal. set factor to 8.19 and zoom to 11.11 and click ok, . あなた now have julia fractaled the picture. now go to the effects menu and select dents( don't deselect the background part yet!) set scale to: 186.58, refraction to 16.73, roughness to 91.67, tension to 60.75, and quality to 4 and click ok, results should look something like this: 
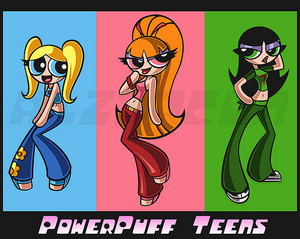
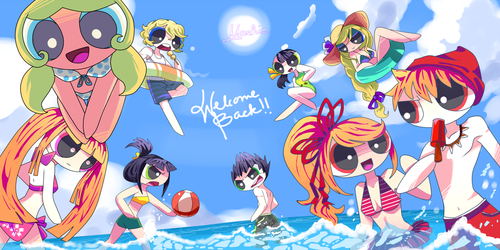
step12: your done! add whatever else あなた want! like here is what i did to finish my picture!: 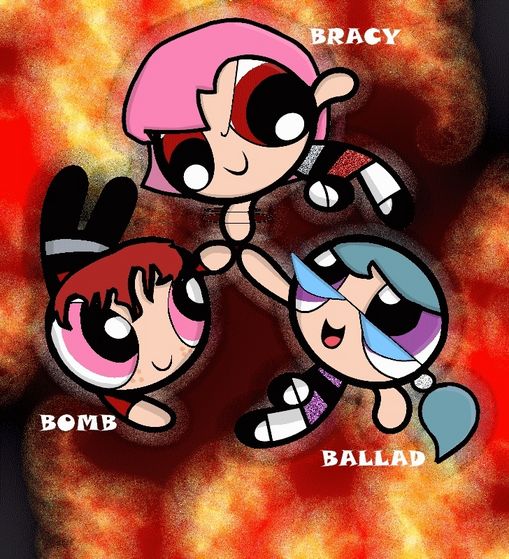
THANKS FOR READING!!!
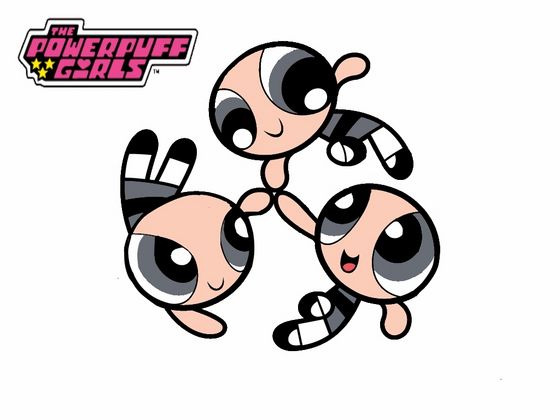
this base:

and, a image editing program like Paintdotnet,Gimp,Or adobe photoshop.For those who don't have any of these, heres a link to the Paint dot net download website, which as advertisments to GIMP( both of course are free to download)
link
Now when your done with all that, LETS GET STARTED!
step1: open up your software and open up the base to the image-editing software. it should look like this:
got it? good.
step 2: carefully do your best to fix any and all mistakes in the base, make it look as close to the real thing as possible(I suggest using the paintbucket,line,and paintbrush tool for this). heres an example:

I used the line and bucet tool for the most part, though used the paint tool partially in fixing the eye on the bottom left puff, I used the crop tool to make the picture smaller and to get rid of the PPG lettering in the corner
NOW WE'RE READ TO EDIT!
step 3: now to make this easy , we are going to get rid of the skin color によって turning it all white(be sure to save the skin color to your pallette first, just temporarily) this will be for when we make and color the hair.
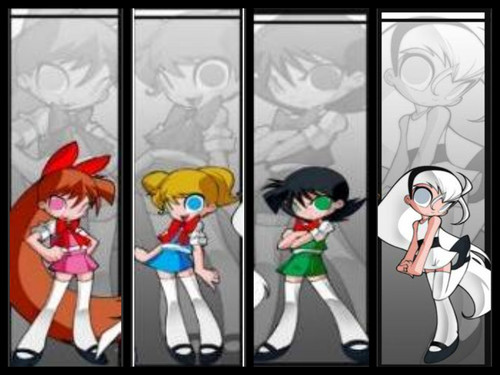
Step4: now we are going to 編集 one of the bottom puffs into a rowdy ruff base, its a much easier process than あなた realize, but I'll 表示する あなた step によって step how to do it anyway!first uncolor the bottom half of the dress,and erase the lines that go across each leg, like so:

thesetype of thing can also be used to make other clothing on ppg characters
step5: now add lines like below on the picture, then color in the pants black ,and the new parts of the シャツ the grey on the girls dresses,like so:

NOW あなた HAVE YOUR ROWDY RUFF/POWERPUFF BASE!
Step6: now we add hair. using the lines tool, draw out the hair lines however あなた want it. heres and example:

after あなた draw in あなた lines, go back in with the paint brush and paint bucket and carefully color over in white any mess ups または unwanted lines
step7: now あなた add any extras using the same step, and also change expressions of the characters, like below:

you can also add lipstick,freckles,eylashes, necklaces,earrings, pretty much anything else あなた can think of
AND NOW WE COLOR!
step 8: pick your base colors, the ones you'll be adding lights and darks to later. this is the first step あなた have to take to make any picture good(note to those using PaintDotNet, when coloring in with some colors, set the opacticity level to a lower setting, and click in the color till it does'nt change shade any more, this'll help color fill in easier,just make sure not to change the line colors!):
NOW FOR THE FANCY STUFF!
step9:in order to add lights to your picture, click white, then set your opacticity level to 40, do the same with black for darks. now, useing the lines tool, add the white where あなた want lights, and the black where あなた want darks. this should be your results(just a example):
step10: now were gonna do some cool special effects,for the first one, use the magic wand tool and pick on area on one of the girls dresses, and go to effects at the 上, ページのトップへ of the screen(or wherever it is on your program) and go to noise, then click add noise, set color intensity to 88, color saturation to 0, and coverage to 100.00. the results should probably look like this:

Now it gives a glitterish effect, continue to add this to other part of the picture によって repeating step10.
step11: now that you've glittified your picture, we're going to add something cool, first make sure あなた have selected the outside of the characters with the magic wand tool, then go to effects and select render, pick julia fractal. set factor to 8.19 and zoom to 11.11 and click ok, . あなた now have julia fractaled the picture. now go to the effects menu and select dents( don't deselect the background part yet!) set scale to: 186.58, refraction to 16.73, roughness to 91.67, tension to 60.75, and quality to 4 and click ok, results should look something like this:

go back into parts that are still white on the picture and make sure to re julia fractal them, あなた don't need to re-dent though!
step12: your done! add whatever else あなた want! like here is what i did to finish my picture!:

THANKS FOR READING!!!


Cool huh
[B]
dear Diary I had the cutest pokemon in the world Buneary!I was going to pick Piplup but I was late but who cares I have a cutie sleeping right 次 to me! I will take care of her. I also named her Star!
Heres a picture ベル and Bunny took a picture of:
We all want to be our own person
Buttercup wants to be a trainer
Blossom wants to be a gym leader for 草 types.
I want to be a coordinator
ベル wants to be a breeder
Bunny wants to be a coniseur
I hope our dreams come true!
によって Bubble
(-:
one 日 while the powerpuff girls was walking at night they stumble on two twin girls one had purple hair and the other black the two girls look at them and smile but not a usally smile both had vampire teeth the black hair one was the first to speak hello im vampire and this is my twin sister まむし, バイパー were the 2 vampire twins u are Im blossom im bubbles and im buttercup were the powerpuff girls who are u guys related to ? 発言しました bubbles were related to the d girls darkness and darklight 発言しました まむし, バイパー o i see what vertex u came from 発言しました buttercup were from a vampire vertex we were with scooby doo and then we went to every cartoon until we stop here dont ask how ok 発言しました vampire